
Last updated November 15, 2026
 Wrought iron
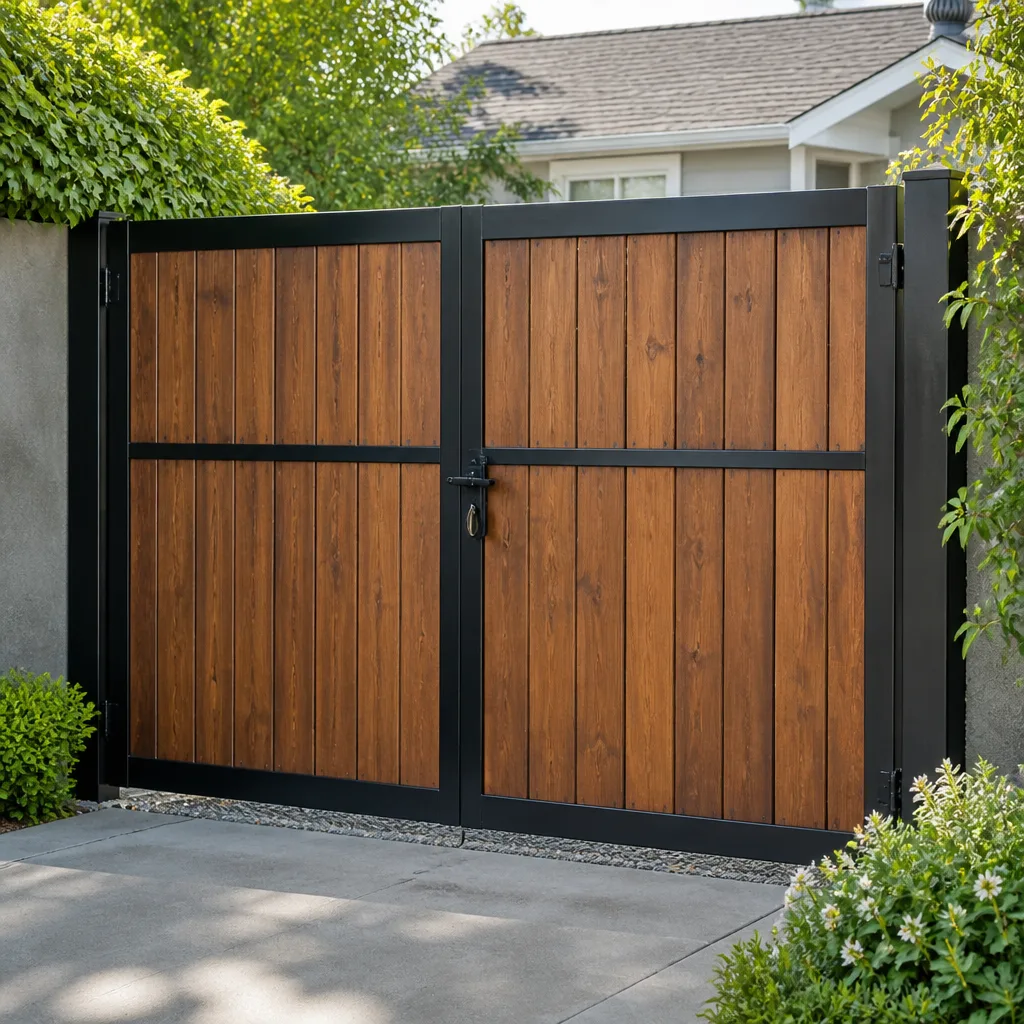 Wood & steel frame
 Farm & ranch
 Sliding driveway gates
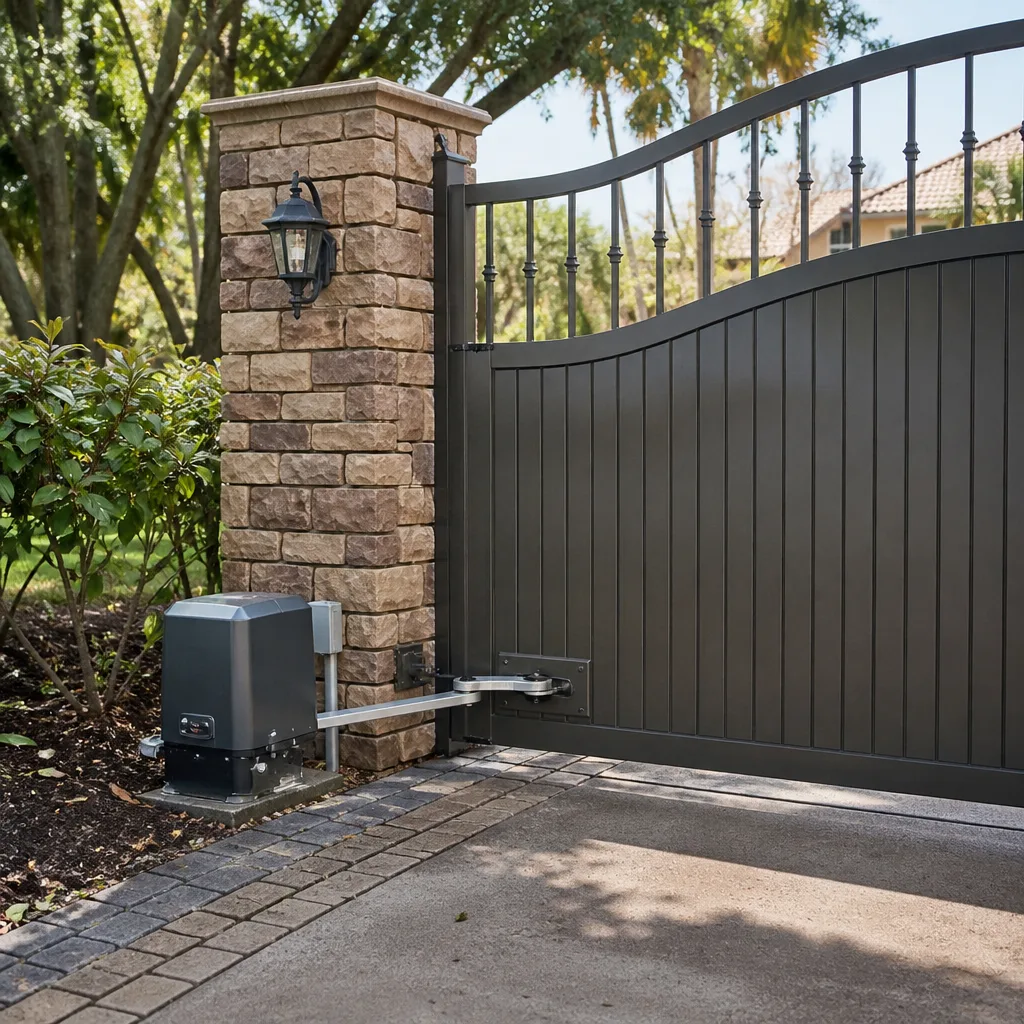 LiftMaster operators
Free on-site gate assessment - hinges, posts, and your LiftMaster or Nice gate operator checked before anything is quoted
The assessment is free and the quote is the invoice.
Get your free estimateGate Repair Troubleshooting in Chesapeake: Common Problems and How to Fix Them
Most people assume a gate that won’t open means a dead motor. It usually doesn’t. In our experience, the motor is the last thing to fail and the first thing blamed. The real culprits hide in three places: the power feeding the system, the signal telling it what to do, or the mechanical parts carrying the load. Learning to sort your problem into one of those three buckets is the difference between a five-minute diagnosis and a week of guessing. This guide walks you through that sequence step by step, with details specific to how gates behave in Chesapeake’s humid summers and heavy spring rains.
Quick Answer
Most gate failures in Chesapeake come down to three root causes: a power interruption, a signal problem (remote, keypad, sensor, or control board), or mechanical wear (hinges, rollers, posts, or track). A systematic check of power first, then signal, then mechanical parts identifies the cause faster than working backward from symptoms. Repairs that involve high-voltage wiring, control boards, or stored spring tension belong with a trained technician.
Styles & brands we work with
- Wrought iron
- Wood & steel frame
- Farm & ranch
- Sliding driveway gates
- LiftMaster operators
Table of Contents
- The Three-Branch Diagnostic Framework
- Branch One: Is It a Power Problem?
- Branch Two: Is It a Signal Problem?
- Branch Three: Is It Mechanical Wear?
- How to Test a Gate Opener Safely
- Symptom Fixes vs. Root-Cause Fixes
- DIY-Safe vs. Call-a-Pro Repairs
- Chesapeake Humidity and Control Board Corrosion
The Three-Branch Diagnostic Framework
Every gate system, whether it’s a Mighty Mule on a residential driveway or a DoorKing swing gate at a commercial entrance, depends on the same three things working together: electricity, a control signal, and mechanical movement. When one breaks, the gate stops. The trick is figuring out which one broke before you start pulling things apart.
We use a three-branch framework because it works across every brand and every gate type. The order matters:
- Power first. Is the system getting electricity at all? This is the fastest thing to rule out and the most common failure point.
- Signal second. If power is good, is the control telling the operator to move? Remotes, keypads, receivers, safety sensors, and control boards all live here.
- Mechanical third. If power and signal check out, the operator may be trying to move a gate that won’t budge because of a hinge, roller, post, or track problem.
Working in this order saves time because each branch rules out the ones before it. You don’t test a hinge when the breaker is tripped, and you don’t test a remote when the gate is physically jammed. If you’d rather hand the diagnosis to someone who’s done it across Gate Repair Chesapeake systems and every major brand, that’s the whole reason we exist.
One important note: this framework assumes the gate and operator are fundamentally installed correctly. If the system has never worked right since day one, a wiring or programming issue from the install is the first branch to check, not the third.
Branch One: Is It a Power Problem?
Start here because it’s the simplest to confirm and the most frequently overlooked. A gate that seems entirely dead, with no lights, no beeps, and no response to any input, is almost always a power issue rather than a control or mechanical failure.
Work through these checks in order:
- Check the breaker. Automated gate operators run on a dedicated circuit in most Chesapeake homes and HOA entrances. Look at your panel for a tripped breaker serving the gate.
- Check for a disconnect switch. Many installations include a service disconnect near the operator. If it’s been flipped off during landscaping or a recent storm cleanup, the gate is simply unpowered.
- Look at the control board. Open the operator enclosure (with the power off at the breaker first) and look for the indicator light. Most modern control boards from LiftMaster, FAAC, BFT, or Linear have a status LED that’s a fast read on whether the board is receiving power.
- Check the transformer and low-voltage wiring. Many residential systems step mains voltage down to low voltage at a transformer. A failed transformer is a common cause of a “dead” gate.
- Inspector the battery backup. Systems with battery backup can behave strangely when the battery fails – the gate may work slowly or intermittently.
If the breaker won’t stay reset or you find scorched wiring, stop and call. That’s not a troubleshooting problem anymore, it’s an electrical one. A trained technician can sort out whether it’s the operator or the branch circuit feeding it. We offer electric gate repair as a dedicated service for exactly this reason – the electrical side of a gate failure is where a lot of generalists stall out.
Branch Two: Is It a Signal Problem?
If the gate has power but won’t respond, or responds inconsistently, you’re in the signal branch. This is the most frustrating category because the symptoms overlap – a bad receiver looks like a bad remote looks like a bad control board.
Signal problems show up in a few recognizable patterns:
- One remote works, another doesn’t. That points to the remote, its battery, or its programming, not the operator.
- Remote works up close but not from the driveway. That’s usually an antenna issue or a weak receiver – common on older systems.
- Gate opens but won’t close (or closes but won’t open). That’s the safety sensor or a limit switch, not the remote.
- Keypad stopped working but remotes are fine. Isolated to the keypad wiring or its programming.
- Gate reverses for no apparent reason. Safety sensor misalignment or a dirty photo-eye lens.
For a quick test, try a second remote if you have one. If both fail, check the receiver antenna wire and confirm it’s intact and clear of metal. If only one fails, replace the remote battery and reprogram it – most systems have a straightforward learn button or pairing sequence documented in the manual.
The signal branch is where brand knowledge earns its keep. A Ghost Controls board behaves differently from a DoorKing, and a FAAC receiver has different pairing steps than a BFT. We work on all four, plus Viking, Linear, Elite, Mighty Mule, and LiftMaster. That’s what “we work on the brand you already have” means in practice. If the signal checks lead nowhere, it’s usually the control board – and that’s a technician-level repair.
Branch Three: Is It Mechanical Wear?
If the gate has power and responds to signal, but moves sluggishly, jerks, squeals, or gets stuck partway, you’re in the mechanical branch. This is the category where most “troubleshooting” guides stop at “lubricate the hinges” and leave you stuck.
Mechanical problems fall into these areas:
- Hinges and pivot points. Wear creates sag and drag, which the operator has to fight through. A gate that sags visibly when open is a hinge problem until proven otherwise.
- Rollers and tracks (sliding gates). Worn rollers cause vibration, noise, and occasionally the gate coming off the track entirely.
- Posts and footings. A settling post is the root cause under a huge share of sagging gates. In Chesapeake’s soils, footings can shift over time, especially with our heavy seasonal rains softening the ground. Repacking or resetting a post is a real structural fix, not a lubricant job.
- Chain, belt, or drive screw. Wear or debris in the drive mechanism drags on the operator.
- Operator arm or drive gear (swing gates). Metal fatigue and worn gears are common in older systems.
Here’s the split that matters: lubricating a squeaky hinge is a symptom fix. Realigning a sagging post is a root-cause fix. Symptoms come back. Root causes stay fixed. If you want the underlying cause handled correctly, that’s what we do across every brand and every gate type, from residential Mighty Mule drives to commercial FAAC hardware. Our gate repair work starts with the mechanical branch on any gate that’s moved slowly for months before failing entirely.
How to Test a Gate Opener Safely
A multimeter is the single most useful troubleshooting tool for a gate operator, and it’s safe to use as long as you know what’s high voltage and what isn’t. Here’s the safe sequence.
The safety line first: the battery-side, low-voltage, and signal-side terminals of most gate operators are safe to probe. The mains voltage coming into the transformer is 120 volts (or 240 in some commercial systems) and is genuinely dangerous. If you don’t know which terminals are mains power, don’t probe anything – call us. A trained technician is the only person who should be working inside a live panel.
If you’re comfortable with a meter, work the sequence in numbered order:
- Set the meter to DC voltage for battery and low-voltage side tests. Set to AC voltage only for mains tests, and only if you’re trained.
- Disconnect the power at the breaker before touching any terminal you haven’t tested before.
- Probe the battery on systems with backup. A 12V battery reading below about 11.5V under no load is a suspect.
- Probe the transformer output on the low-voltage side. Confirm it matches the label on the transformer (typically 12V, 24V, or 24V AC).
- Probe the sensor inputs if the operator has an input-status LED. Some boards show input state directly without needing a meter at all.
- Probe the motor output last – if the board sends voltage to the motor but the motor doesn’t move, the motor is the problem.
Recording each reading as you go matters. If you call us with a quick summary of what you measured, we can skip a whole on-site diagnostic step and bring the right part. Call (833) 323-1302 with the readings and we’ll tell you what they mean. We answer 24/7.
Symptom Fixes vs. Root-Cause Fixes
This is the single biggest reason gates fail repeatedly in Chesapeake homes and HOAs. Symptoms get treated because they’re visible. Root causes get missed because they’re not. The fix looks done, then the same problem comes back in a few weeks.
Here’s the split, side by side:
| Symptom | Symptom Fix | Root Cause | Root-Cause Fix |
|---|---|---|---|
| Squeaky hinge | Lubricant spray | Worn hinge/pin or a shifting post | Hinge replacement or post reset |
| Gate drags and stops halfway | Slowing the operator | Failing roller, worn track, or binding | Roller replacement or track realign |
| Gate sags when open | Weld reinforcement | Footing shift or hinge wear | Post footing repair or hinge rebuild |
| Remote works intermittently | Reprogram the remote | Receiver antenna or failing board | Receiver or board replacement |
| Gate reverses randomly | Cleaning the photo-eye | Sensor mounted in a bad location | Reposition or replace the sensor |
The pattern is consistent: if the symptom returns to the same spot within a couple of months, you’re treating a symptom. Repair or replace – we’ll tell you which one actually makes sense based on what we find when we look. That’s the honest conversation we have with every customer, whether it’s a homeowner in Great Bridge, an HOA property manager near Greenbrier, or a business in Western Branch.
DIY-Safe vs. Call-a-Pro Repairs
Some gate troubleshooting is genuinely safe to handle yourself. Some is genuinely dangerous no matter how handy you are. Most guides blur the line. Here’s a clear split.
Genuinely DIY-safe:
- Replacing a remote battery, reprogramming a remote, or re-pairing a keypad.
- Cleaning safety photo-eye lenses with a soft cloth.
- Clearing visible debris from the track or gate path.
- Testing the breaker and resetting it once.
- Visually inspecting the gate and operator and taking photos of anything unusual.
Call a professional:
- Any work inside the live high-voltage side of the operator.
- Control board diagnosis or replacement – voltage testing on the board is generally safe, but diagnosis is a different skill.
- Any gate that uses counterbalance springs or stored spring tension to offset the gate’s weight. These parts hold significant stored force, and an incorrect adjustment can move a heavy panel or arm suddenly and crush hands, fingers, or worse. A gate panel is heavy – never work under a raised panel or reach into a lift mechanism without a trained technician’s guidance.
- Sliding gate that has come off the track. The panel is heavy and the recovery process needs the right lift and blocking equipment.
- Footing, post, or concrete work.
- Motor replacement.
If you’re unsure which side of the line a problem falls on, that itself is the signal to call us. A free estimate tells you whether it’s a small repair or a bigger project. Call (833) 323-1302. Fast dispatch from 7am to 7pm, Sunday through Friday.
Chesapeake Humidity and Control Board Corrosion
Humidity is the quiet killer of gate control boards in Chesapeake. The summer air here holds moisture that condenses inside operator enclosures at night, and over years that moisture does real damage to the low-voltage side of the board. We see it most on systems installed in low-lying yards, near irrigation zones, and on properties with dense landscaping.
What to look for:
- Green or white crust on board terminals and solder points. That’s oxidation and it’s the early warning.
- Intermittent behavior that clears up in dry weather and returns after rain – a classic moisture intrusion signal.
- Rust or condensation inside the enclosure when you open the lid after a humid stretch.
- Corroded terminal blocks where wires land, even when the wires themselves look fine.
- Swollen capacitors or darkened components on the board itself.
What to do about it: keep the enclosure gasket intact and the lid sealed. Make sure the enclosure isn’t sitting in a low spot where water pools. If you’re seeing intermittent failures that correlate with weather, plan for a board inspection. Replacing a board on a system with corroded terminals and a compromised enclosure just resets the clock on the same failure.
Chesapeake’s climate also accelerates mechanical wear. Wet springs and hot summers break down lubricants, expand and contract hinges, and soften soil around footings. A repair that lasts in a drier climate may not last here without the right parts and setup. That’s why brand knowledge matters – the right replacement parts for a FAAC or LiftMaster are built for outdoor service, but they still need to be installed and adjusted for this climate. Our technicians have up to 13 years of experience across Chesapeake gate systems, and we’ve seen which brands hold up here and which ones need extra attention.
Common Mistakes to Avoid
- Replacing the motor before testing power and signal. Most “dead” gates are tripped breakers or dead remotes. Test first, replace last.
- Assuming brand-loyalty means better repair. A brand-specific dealer will tell you to replace the whole system when a $30 receiver would fix it. Brand-agnostic diagnosis is worth having.
- Lubricating a sagging gate to hide a footing problem. Lubricant doesn’t move a post. If the gate sags while open, you have a structural issue, and no amount of grease will fix it.
- Ignoring humidity damage until the board dies. Green crust on terminals is a warning. By the time the board fails, the whole enclosure needs an inspection, not just the board.
- Working near stored spring tension without training. Gate springs store real force. One wrong adjustment can send the gate or the arm suddenly and hurt someone badly.
- Buying a new opener before checking the old one’s board. Many “no-response” gates need a control board repair, not a new operator – and the cost difference is large.
- Troubleshooting symptoms one at a time instead of as a system. If you check power first, signal second, mechanical third, you skip dozens of dead-end tests.
See the difference
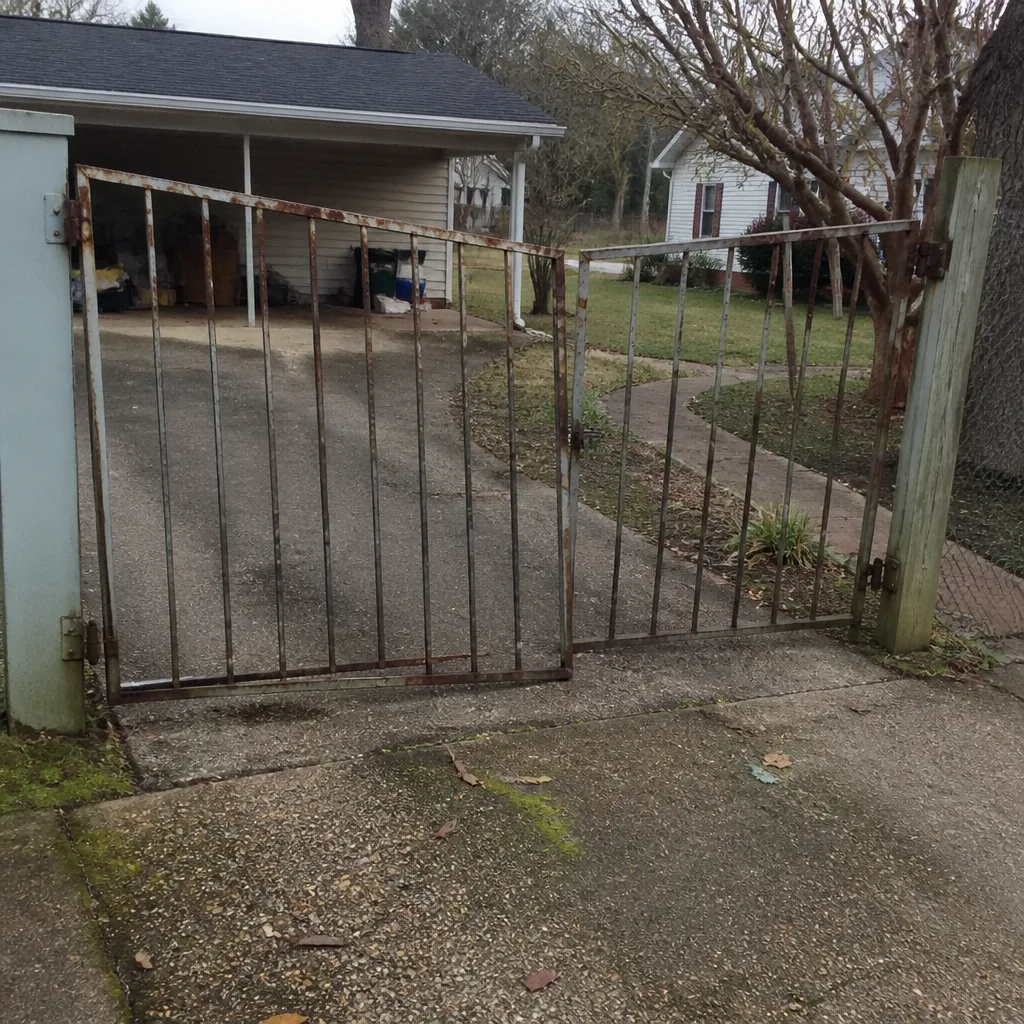 Before
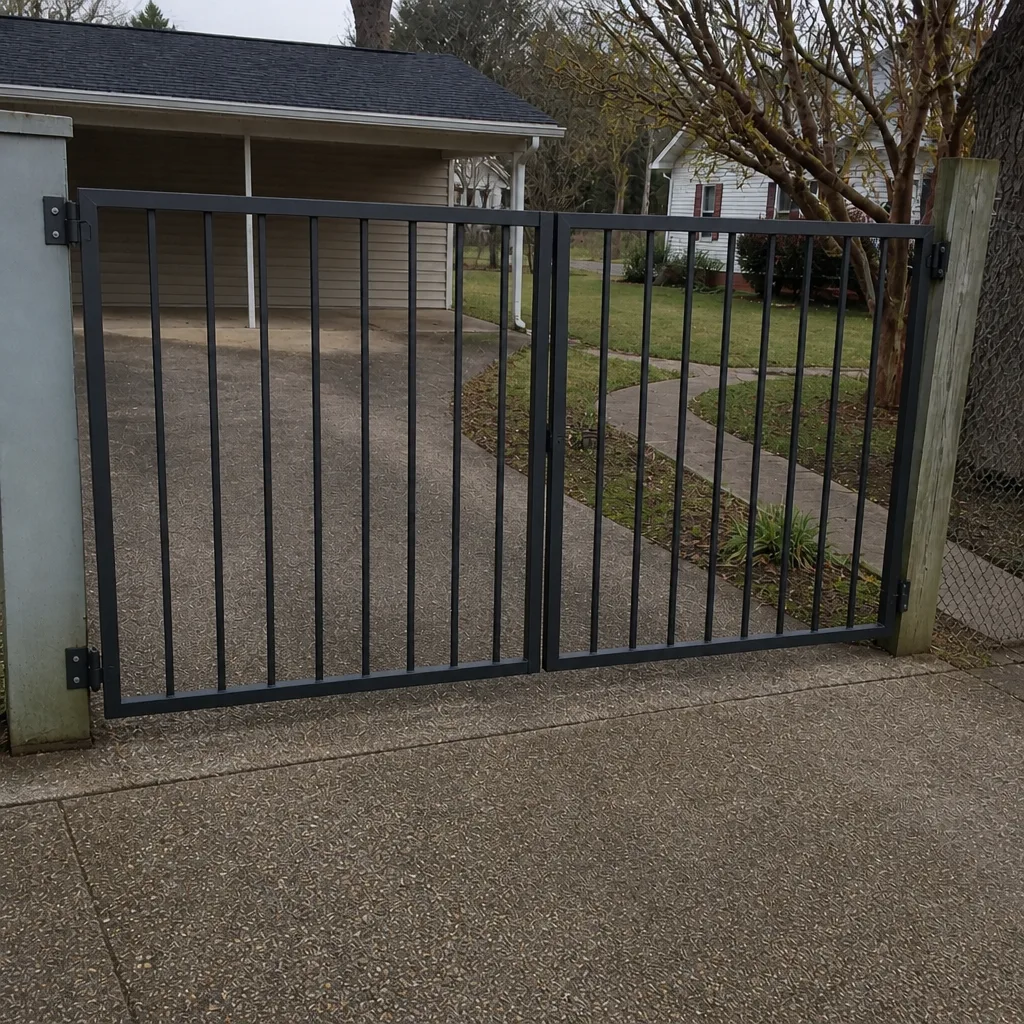 After
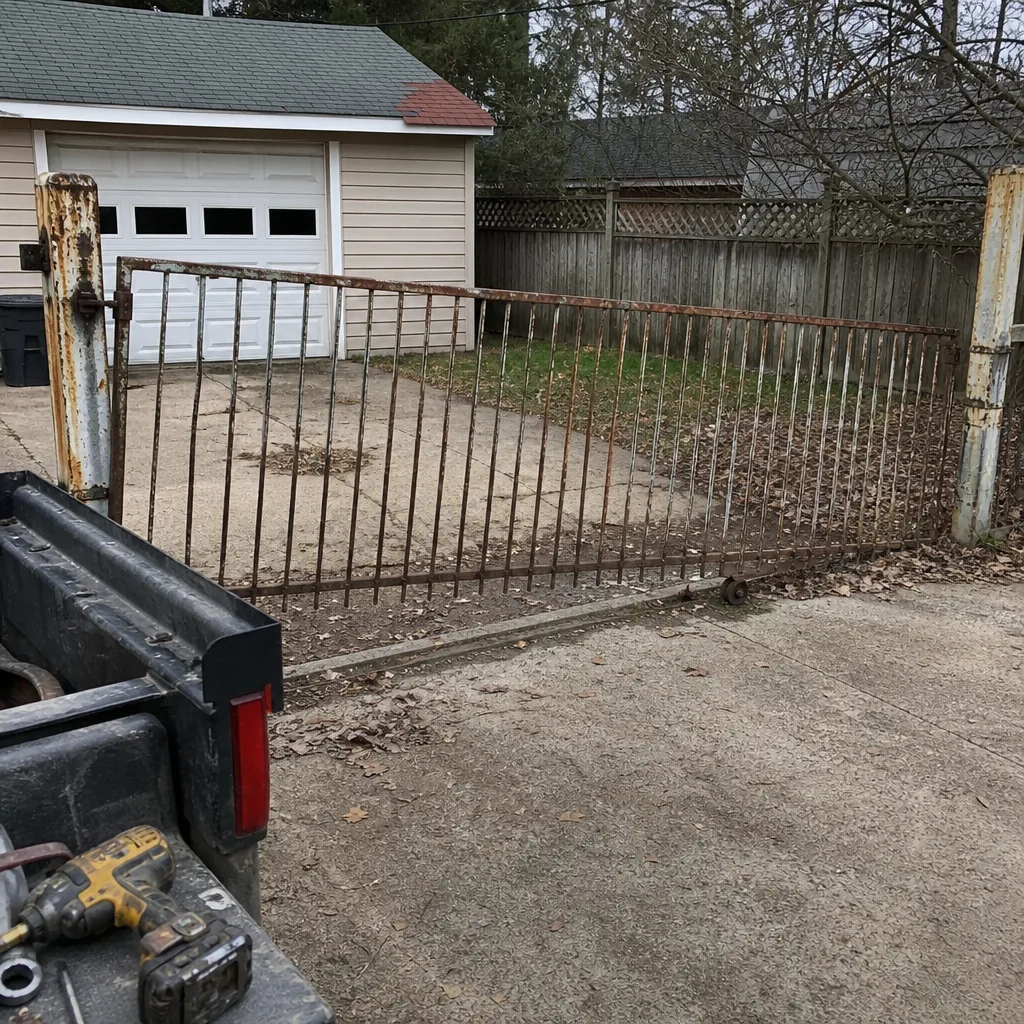 Before
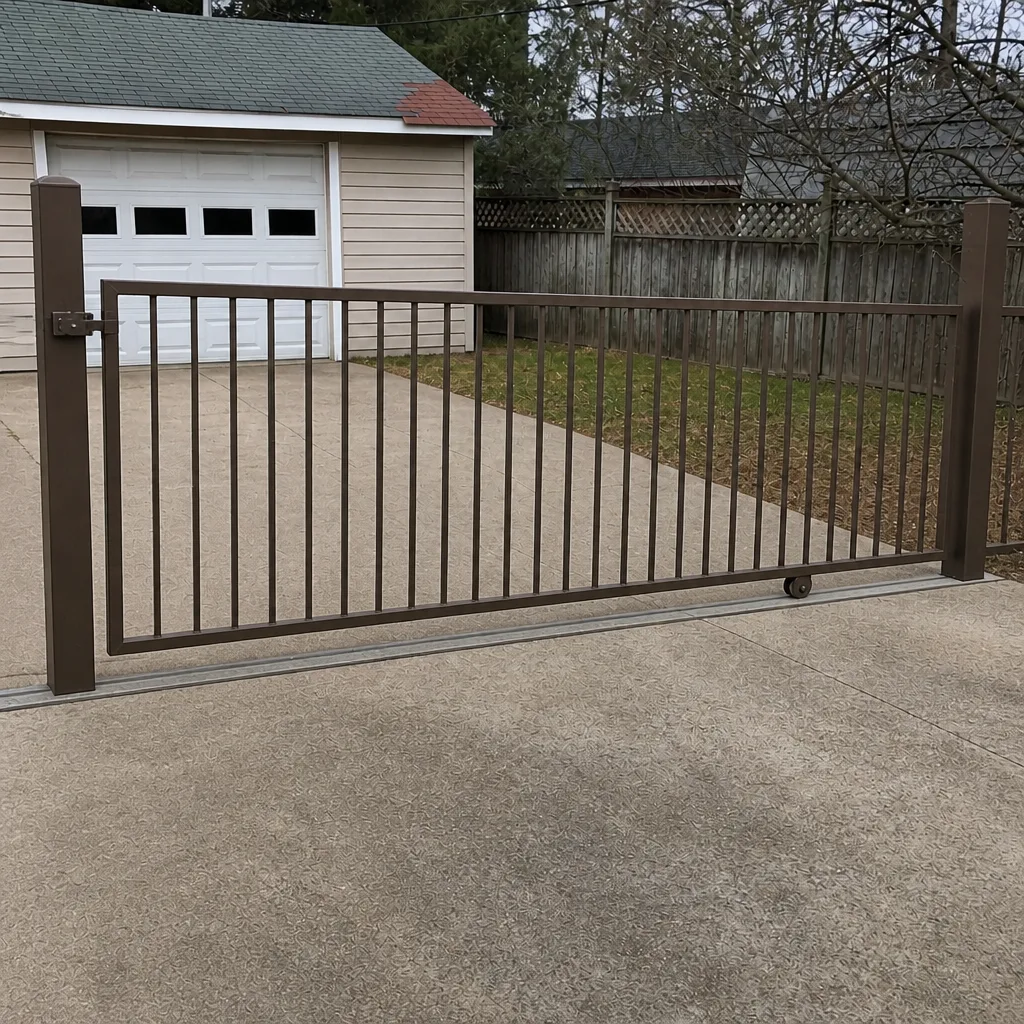 After
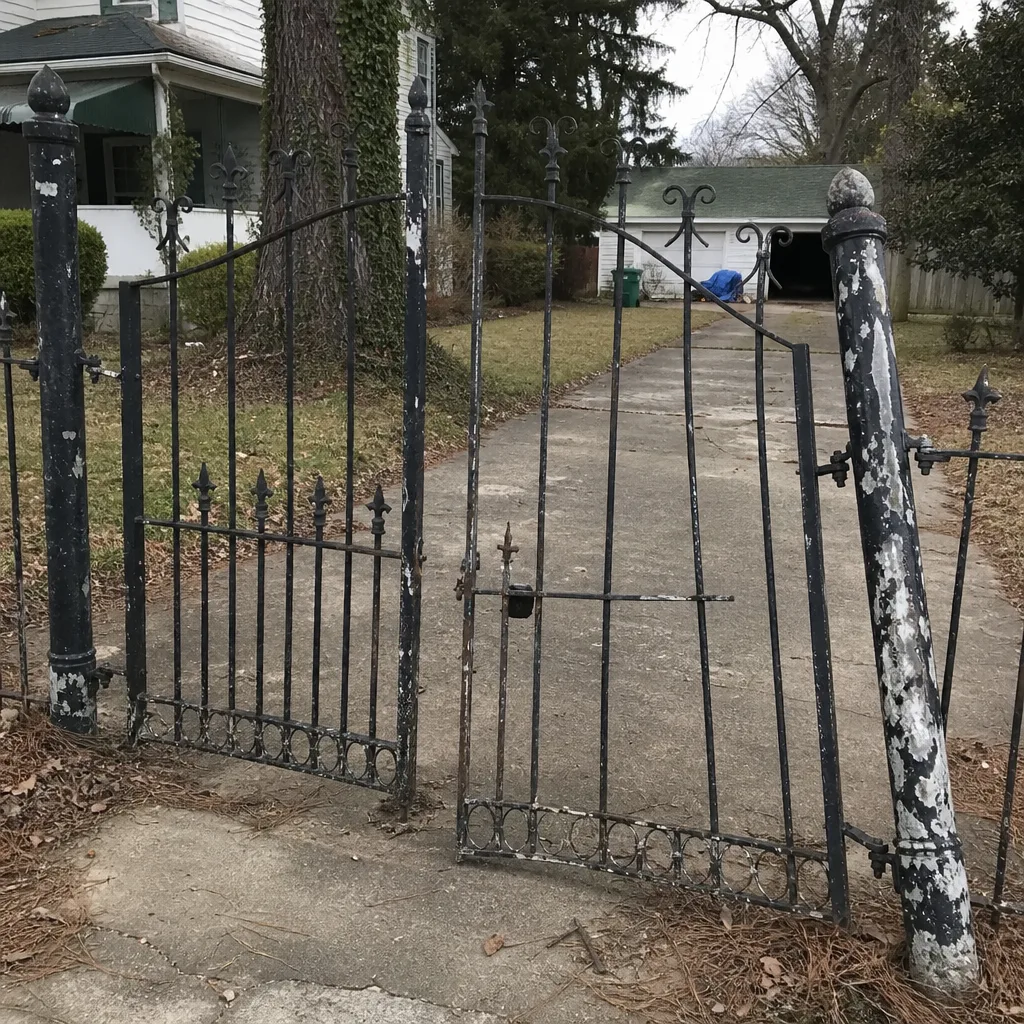 Before
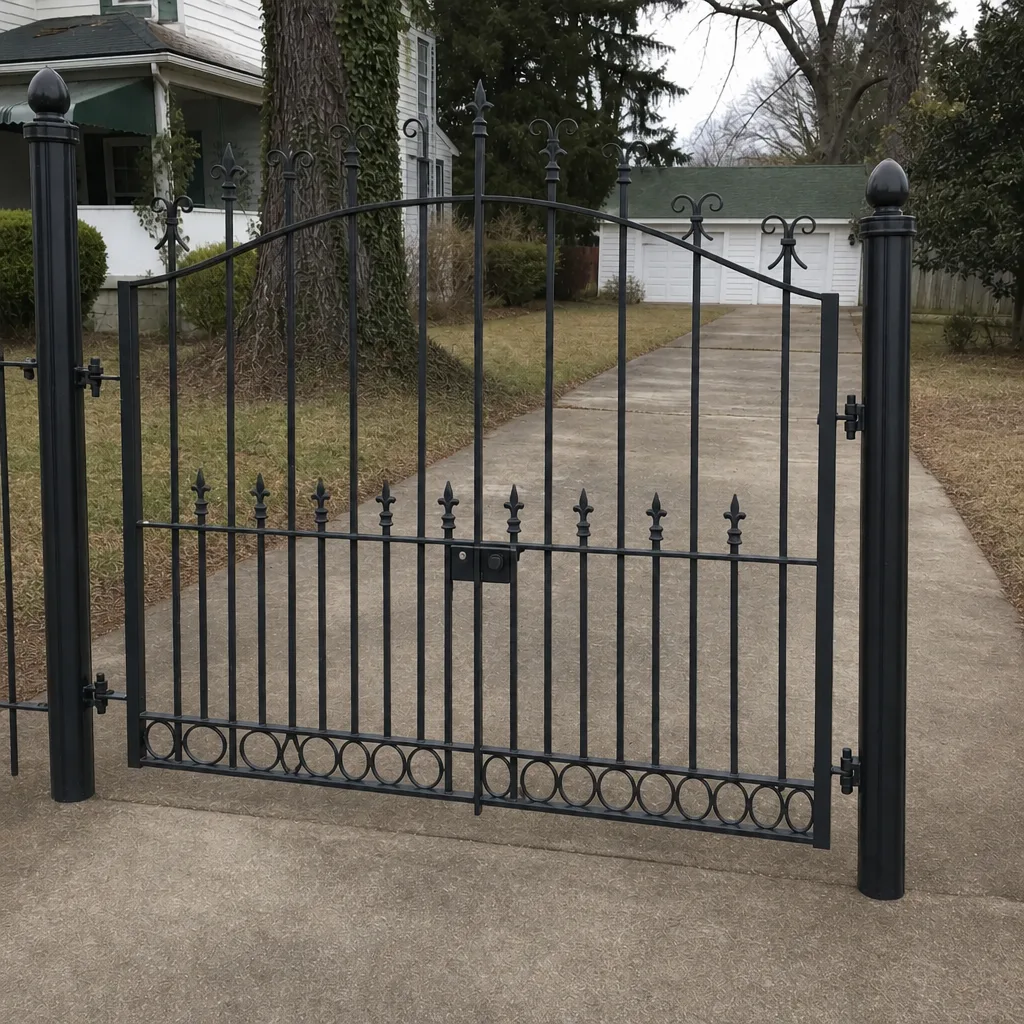 After
When to Call a Professional
Call a professional when the gate is unresponsive and you’ve ruled out the breaker, when a control board needs diagnosis or replacement, when the gate has visibly shifted on its hinges or post, when a sliding gate has come off the track, or when any work touches the high-voltage side of the operator. Also call when the gate reverses unexpectedly and photo-eye cleaning hasn’t fixed it – that’s usually a signal problem with a technician-level root cause behind it. Gate Repair Chesapeake offers free estimates in Chesapeake – call (833) 323-1302. We answer 24/7, and it’s fast dispatch from 7am to 7pm, Sunday through Friday. One call covers the whole job, from diagnosis through repair or installation.
Frequently Asked Questions
The most common cause is a power interruption – a tripped breaker, a flipped service disconnect, or a failed transformer feeding the operator. Check the breaker first, then confirm the control board has a status light. If both are normal, the problem is in the signal branch: the remote, keypad, receiver, or control board. Call (833) 323-1302 for a free estimate if the power checks out and it still won’t open.
You can safely handle remote batteries, keypad reprogramming, photo-eye cleaning, and visual inspections yourself. Call a technician for anything involving high-voltage wiring, control board diagnosis, stored spring tension, motor replacement, or a gate that’s physically off its track. If the repair involves opening the operator enclosure while it’s powered, it’s a technician’s job.
If the gate has power and responds to a remote or keypad but moves slowly, jerks, squeals, or gets stuck partway, it’s mechanical. If the gate is entirely unresponsive, or responds inconsistently, it’s electrical or signal. If you can hear the operator trying to move the gate but the gate doesn’t move, that’s the split point – the operator is fine and the mechanical side is the problem.
Simple repairs like a remote replacement, sensor realignment, or control board swap often finish same day. Structural repairs like post resetting or footing work can take longer because they involve concrete curing. We give an upfront price and timeline before any work starts, so there’s no surprise invoice. Call (833) 323-1302 for an exact quote on your gate.
We work on LiftMaster, FAAC, BFT, Linear, Viking, Ghost Controls, DoorKing, Elite, and Mighty Mule, spanning residential and commercial gate systems. That range is deliberate – it means we diagnose from system knowledge rather than guessing, and we never push a specific brand because we’re locked into a single manufacturer’s ecosystem. If your gate is a brand not on that list, call us and we’ll tell you honestly whether we can help.
Yes. Summer humidity condenses inside operator enclosures and corrodes control boards over time. Spring rains soften soil around gate posts, which can cause sagging and alignment problems. Both are predictable patterns, and both are easier to prevent with an annual inspection than to fix after a failure. If your gate shows intermittent problems after wet weather, that’s usually moisture intrusion and worth a technician’s look.
The Bottom Line
Most gate problems in Chesapeake come down to power, signal, or mechanical wear – and diagnosing in that order saves time and money. Test power first (breaker, disconnect, transformer). If power is good, test signal (remote, receiver, sensors, control board). If both check out, you’re in the mechanical branch, and the fix is usually a hinge, roller, post, or track repair rather than a motor swap. Know where the DIY line is and don’t cross it for spring tension, high voltage, or board diagnosis. When you need a hand, one call to Gate Repair Chesapeake covers diagnosis, repair, or installation on any of the nine brands we work on.
If you’ve walked through the framework and want a technician to take over, call (833) 323-1302 for a free estimate. We answer 24/7, and it’s fast dispatch from 7am to 7pm, Sunday through Friday. Whether you’re a homeowner in Great Bridge, a property manager in Greenbrier, or a business owner anywhere in Chesapeake, we’ll tell you honestly whether your gate needs a repair or a full replacement – and then we’ll do the work.
Written by the team at Gate Repair Chesapeake.